
Hole By Hole
| Out | In | Total | |
|---|---|---|---|
| 3423 | 3294 | 6717 | |
| 3327 | 3175 | 6502 | |
| 3077 | 2998 | 6075 | |
| 3077 | 2998 | 6075 | |
| 2996 | 2880 | 5876 |
| Slope | |||
|---|---|---|---|
| 128 | - | ||
| 125 | - | ||
| 122 | 128 | ||
| - | 124 | ||
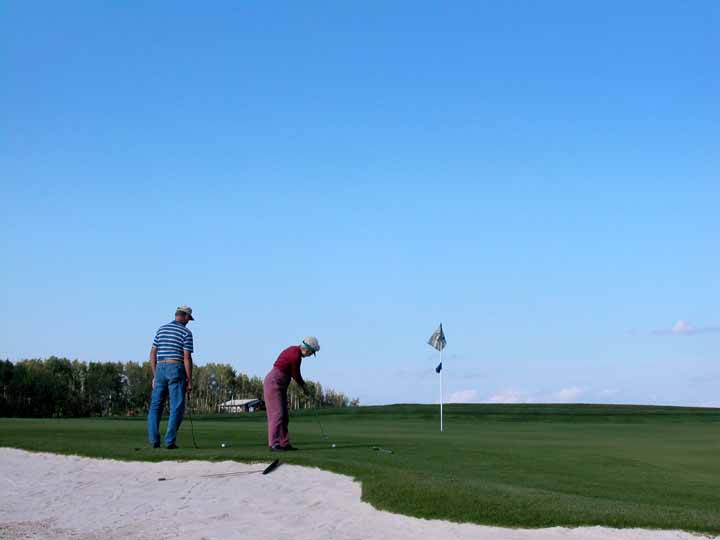
All golf experiences are based on several circumstances but unless you recognize your level of accomplishment as a player, the experience may be less than enjoyable, therefore, it is crucial the player choose the appropriate starting tee for his/her game. Our course section outlines yardages for each hole.
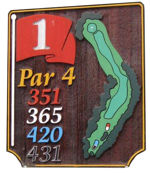
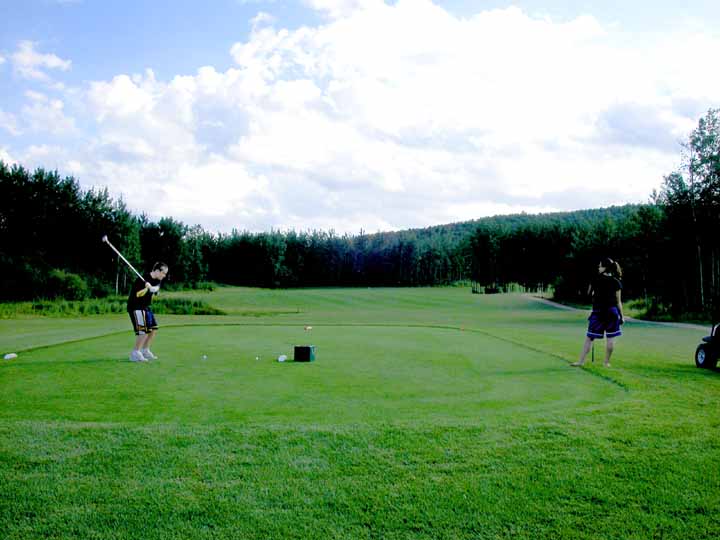
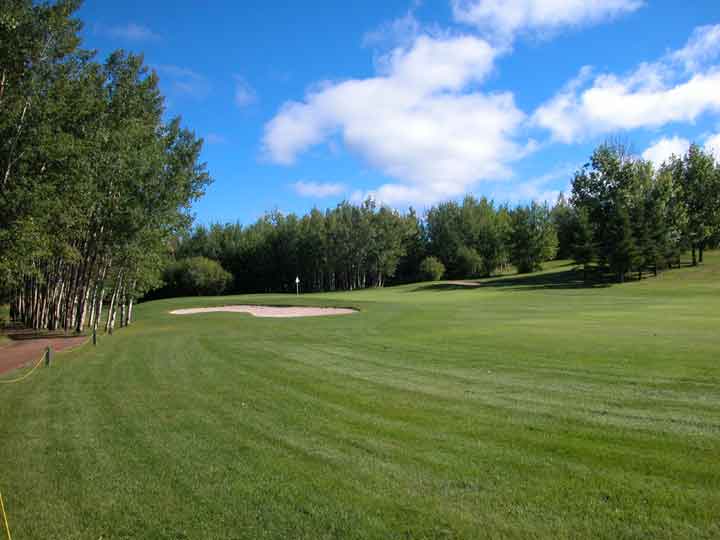
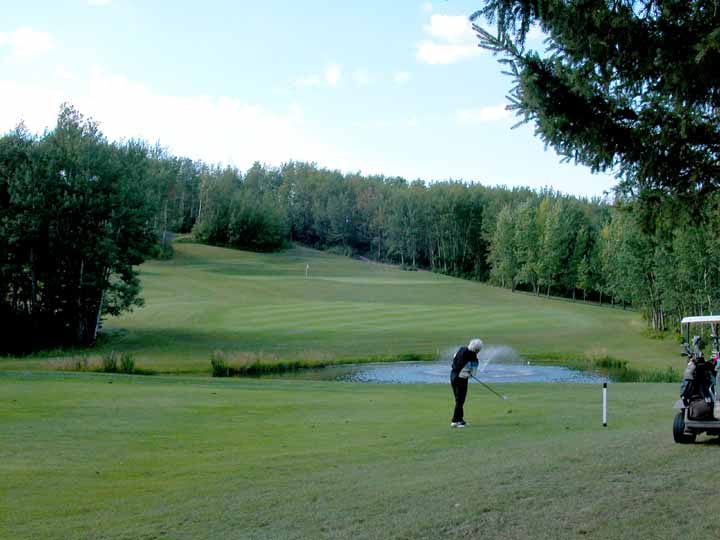
Pro Tip:What a fantastic starting hole, with a handicap rating of one, we strongly suggest a warm up on the driving range! The perfect drive would be around the 220-230 mark, leaving a downhill second shot to a large green where short is better than long.

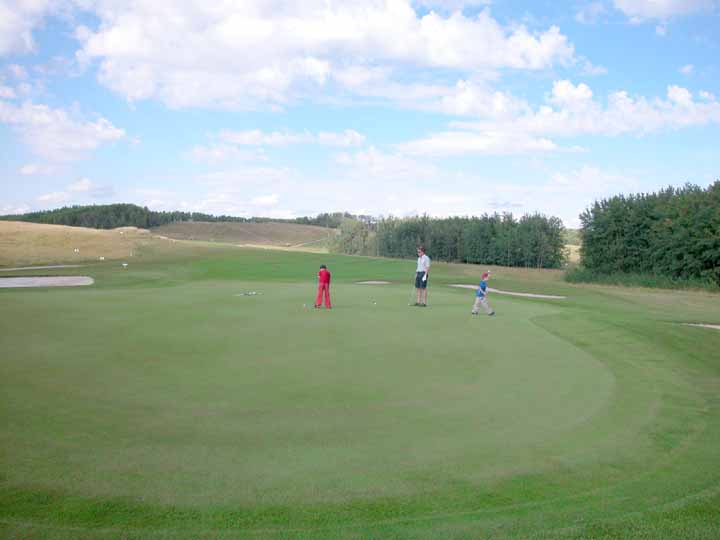
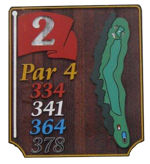
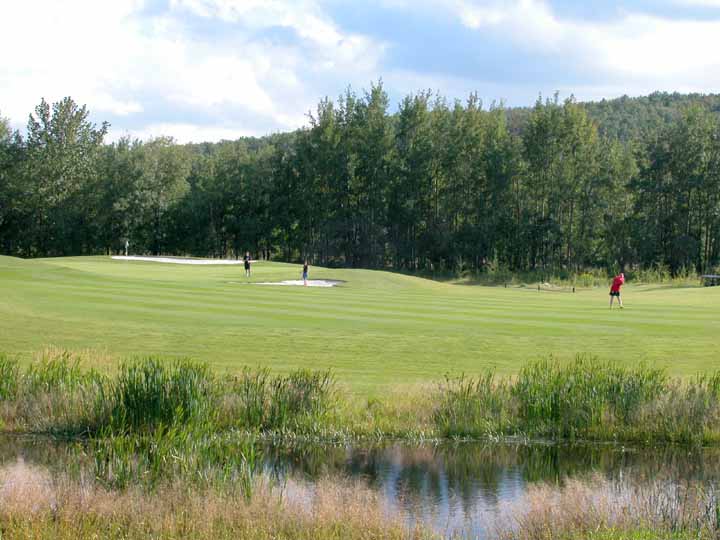
Pro Tip:A slight dogleg right with a very generous fairway. Keep your drive right of centre for maximum roll. Second shots can attack the pin but anything left brings trouble.

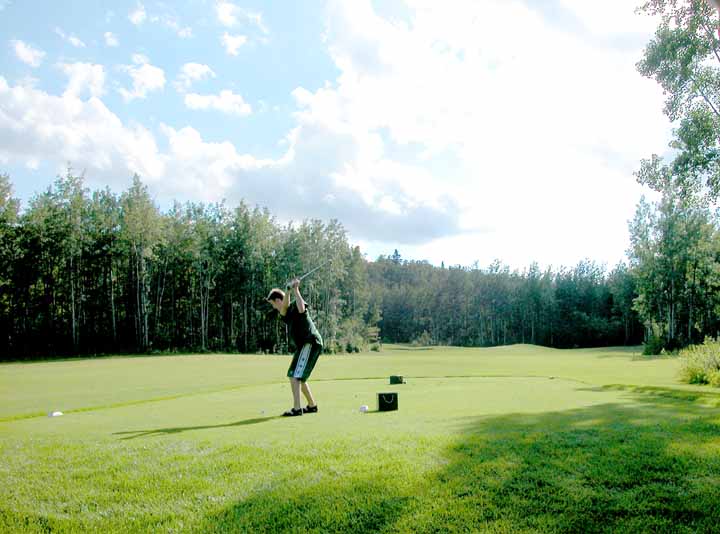
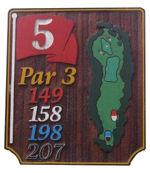
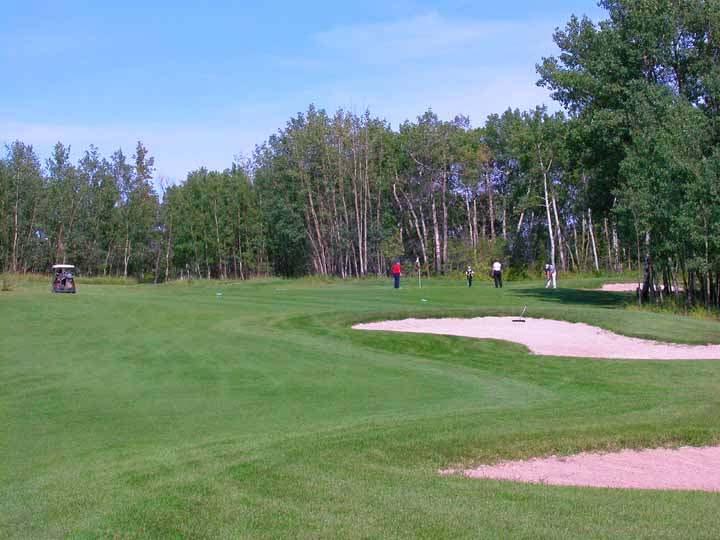
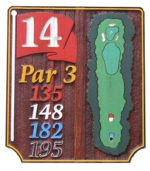
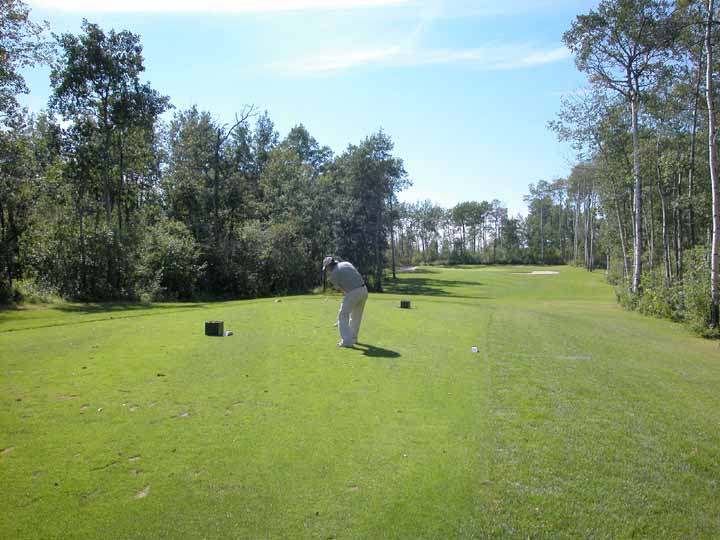
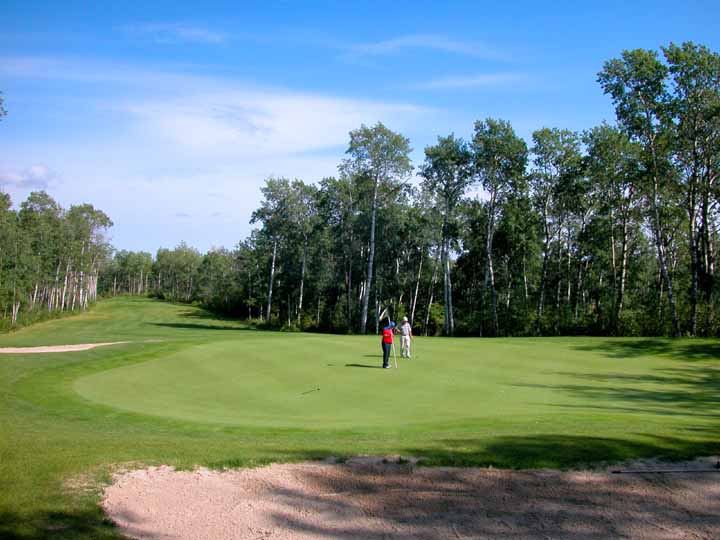
Pro Tip:A great par 3 where the green will give you all the challenge you can handle. Don't get past the flag if the pin is in the front half of the green.

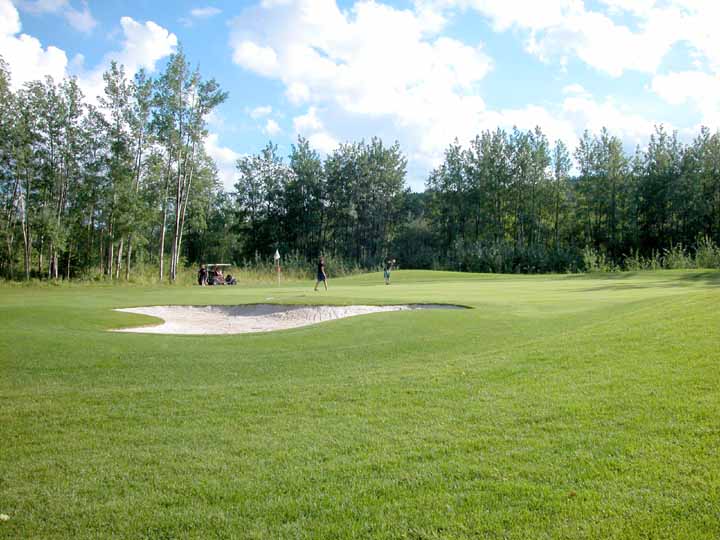
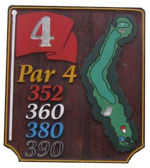
Pro Tip:Big hitters can challenge the right side of this subtle dog-leg... it's a risk/reward shot. Otherwise 250 yards down the middle is perfect. Your second shot is usually a mid-iron to a nicely guarded green. Short left is no trouble.

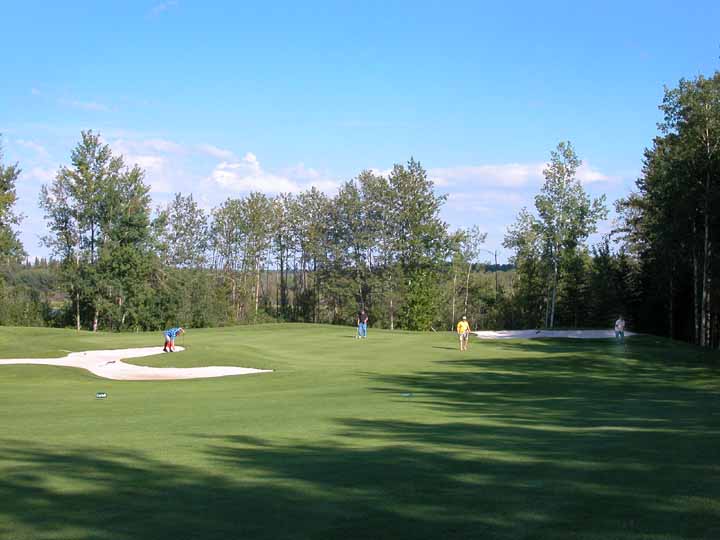
Pro Tip:Another great par 3. The shape of the green is the challenge. Middle of the green is perfect no matter where the flag is.

Pro Tip:Smart play on this par 5 is the way to go. Straight down the middle, 200 yards off the tee sets up a second shot into a wide open fairway. A short approach shot leaves you a birdie putt on a green that will not break as much as you think.

Pro Tip:Love it or hate it, this par 5 requires 5 good shots. My thoughts are 180, 180, 180 and birdie putt. Keep the ball in play. Par is good here!
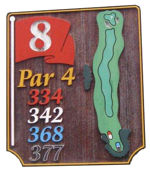
Pro Tip:A good par 4 where length and accuracy are needed. The second shot requires more club the you think! The shape of this green could be an adventure if the pin is back.

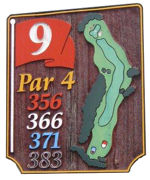
Pro Tip:A good finishing hole to our out-nine. This dog-leg left gives you a couple of options off the tee: either down the middle about 250 yards; or across the left corner of the tree line. Risk/reward. Second shots are with a short or middle iron to a green that isn't easy to hit.

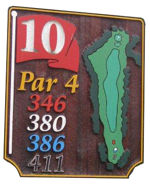
Pro Tip:A relatively straight par 4 that ends with a narrow green. There isn't a lot of trouble on this hole but the premium is on the second shot. Read your putts carefully on this one.

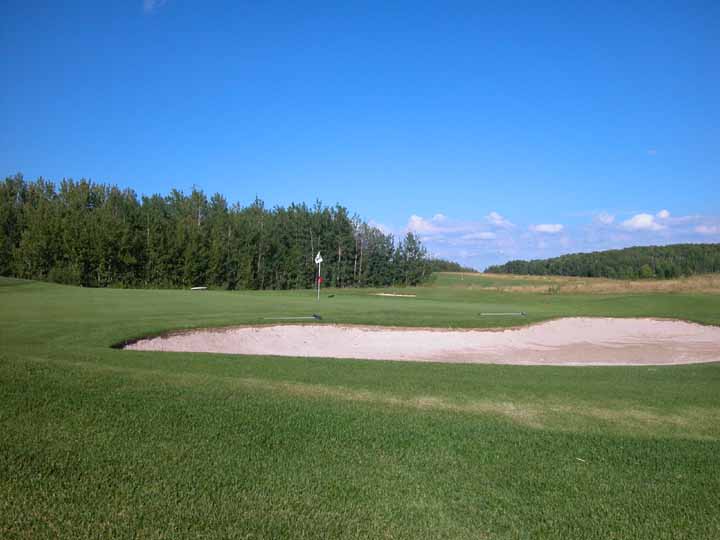
Pro Tip:Another great par 3. The green slopes gently from right to left, anywhere on the dance floor is a good shot.
Pro Tip:You can pump it up here - the aggressive line is right centre of the fairway. The landing area is generous and it will take 2 great shots, or 3 good shots to get home.

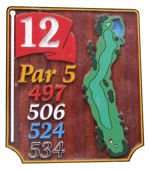
Pro Tip:This par 5 can make or break your round! Big hitters can fly the left hand bunker, leaving a long iron approach into the green and an eagle putt. Shorter hitters, split the middle of the two bunkers, play a mid iron second, leaving a short approach to the green and a birdie putt. Anything off the fairway on this hole can leave you scrambling for a 10!

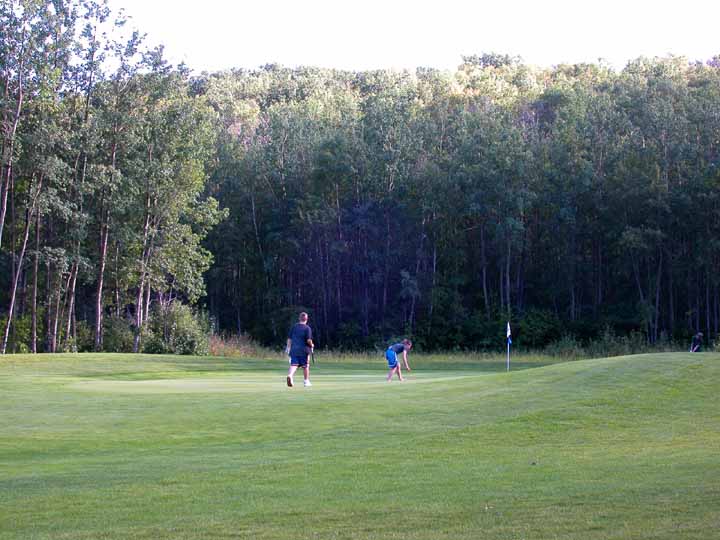
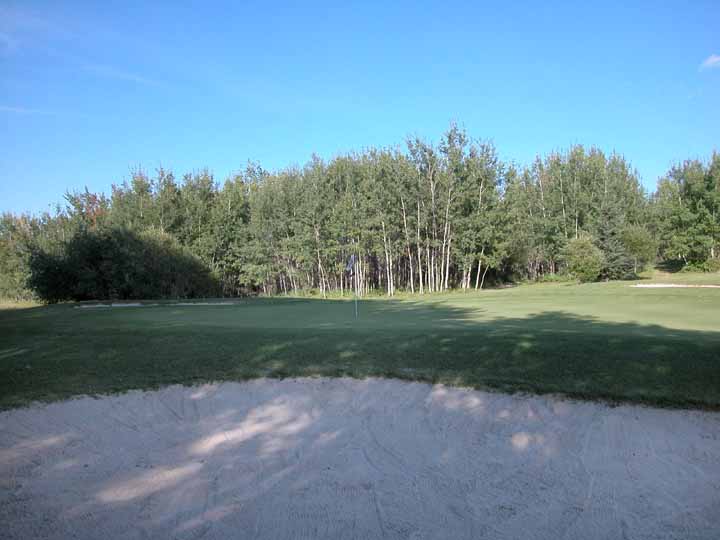
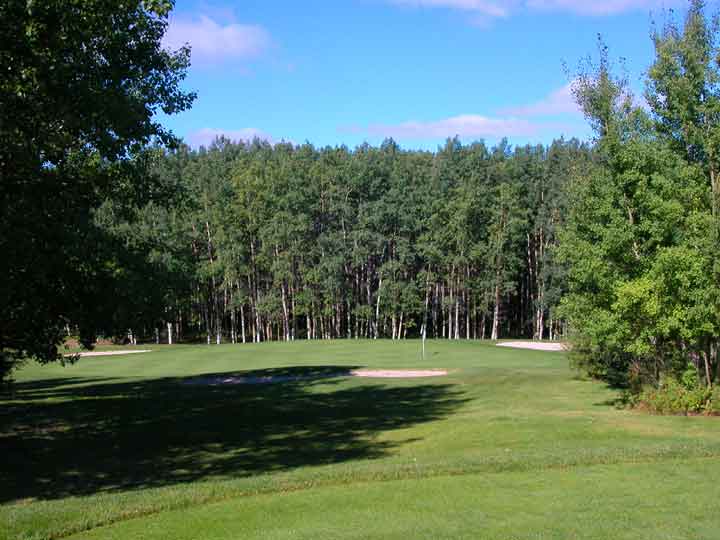
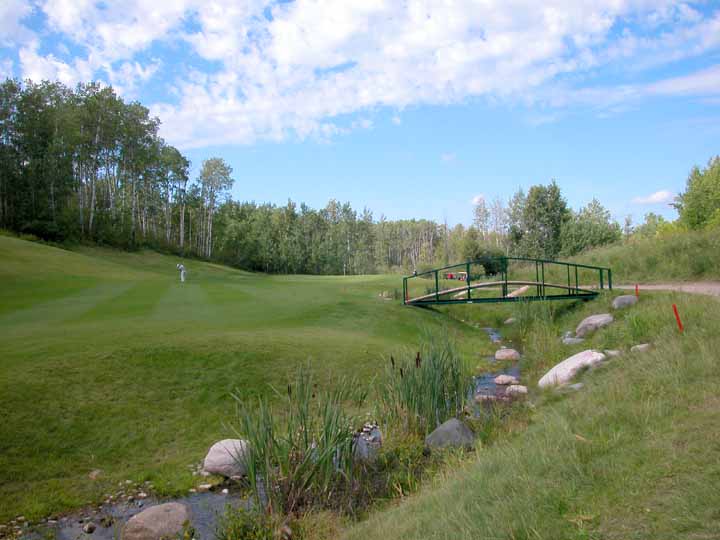
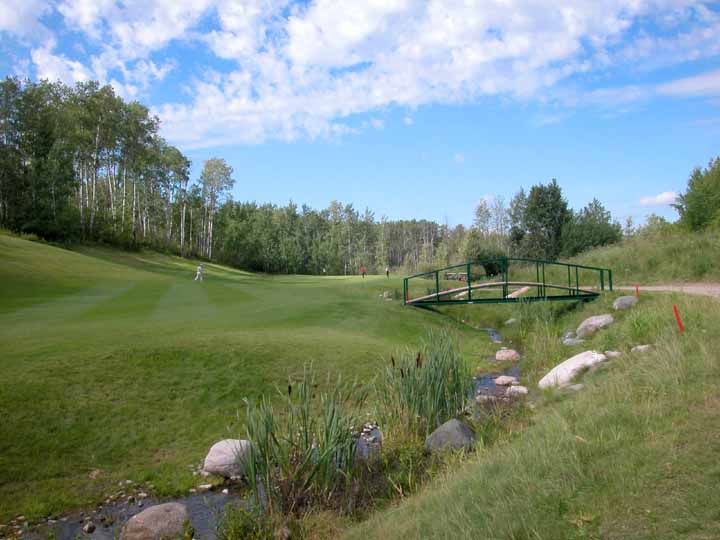
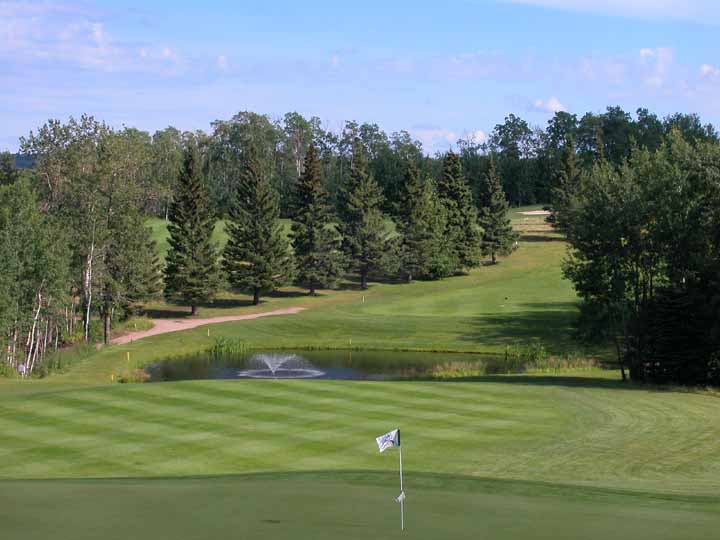
Pro Tip:A picturesque par 3. This hole is beautifully framed by the tree line, but don't let this distract you! You'll need a good shot to set up a birdie chance.

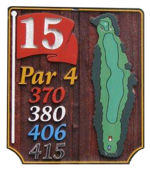
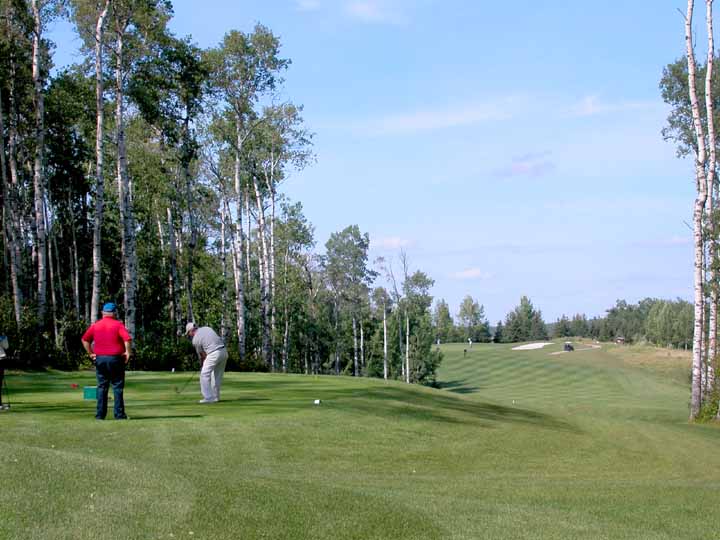
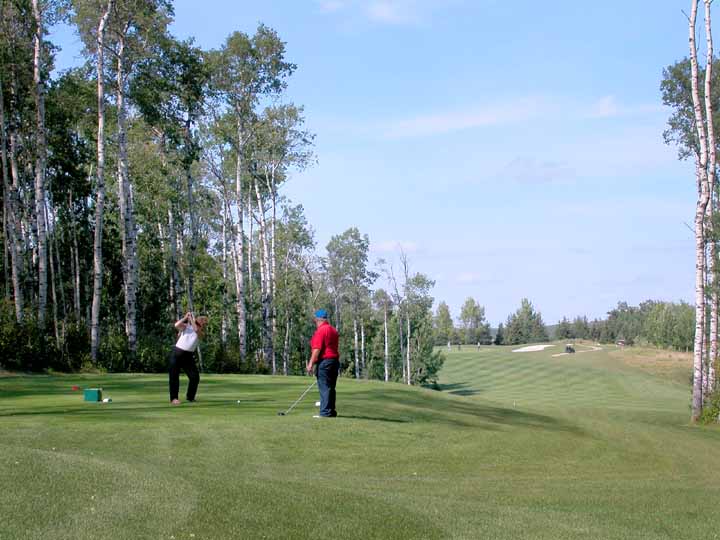
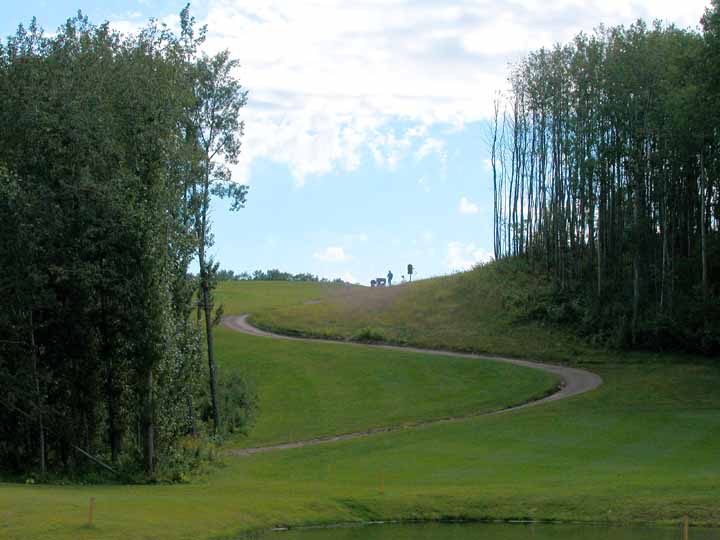
Pro Tip:As the number 2 rated hole at Green Hills, a good drive is required and the right side is preferred - drives down the left side can find some heavy rough. The second shot is uphill to a large green guarded on both sides by sand bunkers.

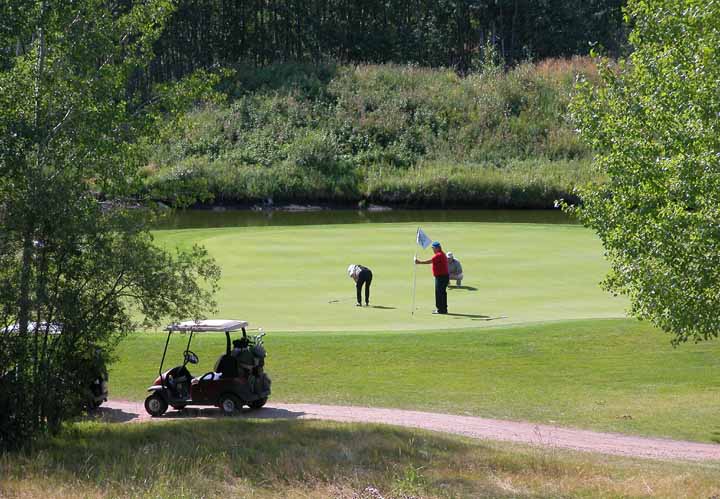
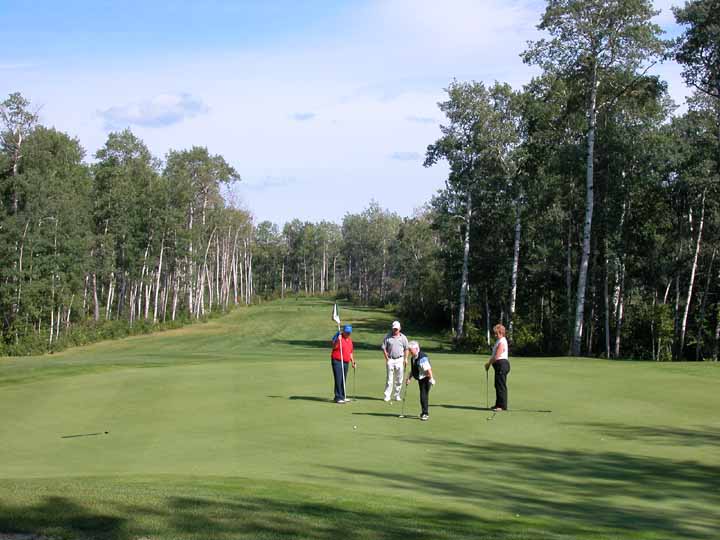
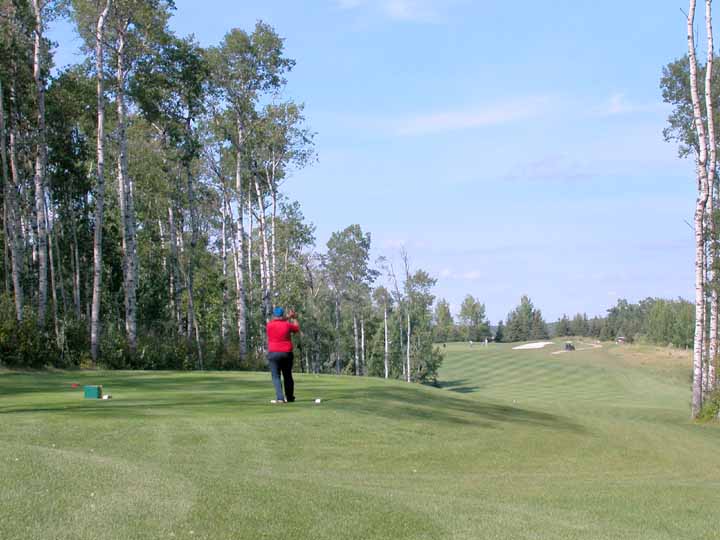
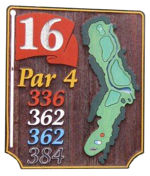
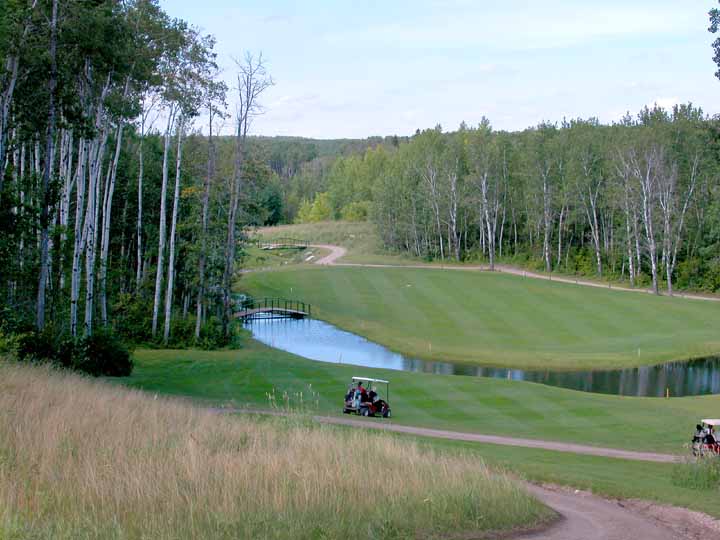
Pro Tip:Our signature hole begins the start of 3 great finishing holes. These holes will truly test your course management skills. The perfect drive would be around 215 yards, leaving yourself with approximately 150 yards to the green. They say all the good bounces come from the left hand side of the green.
Pro Tip:Choose your weapon here! This par 4 can be driven with a good - very good - shot, but the margin of error is small. The safe shot is approximately 200 yards off the tee, aiming just to the right hand side of the pine tree. This will leave you a short or middle iron to a small green. Again... it's a great risk/reward hole.
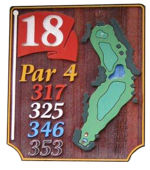
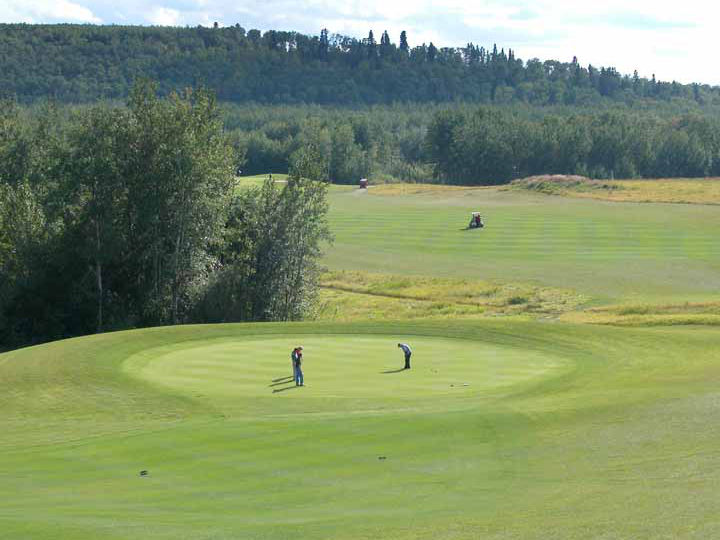
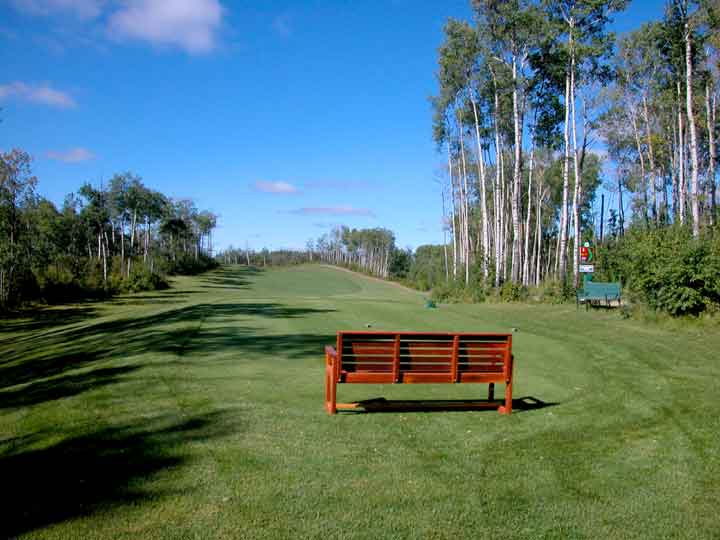
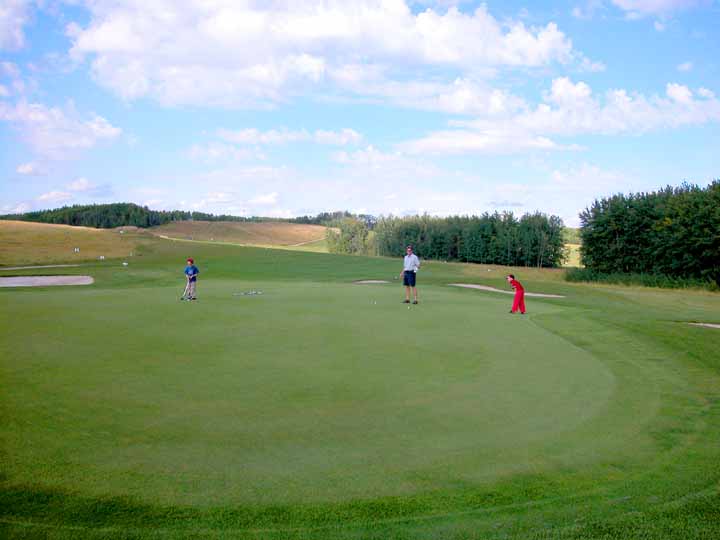
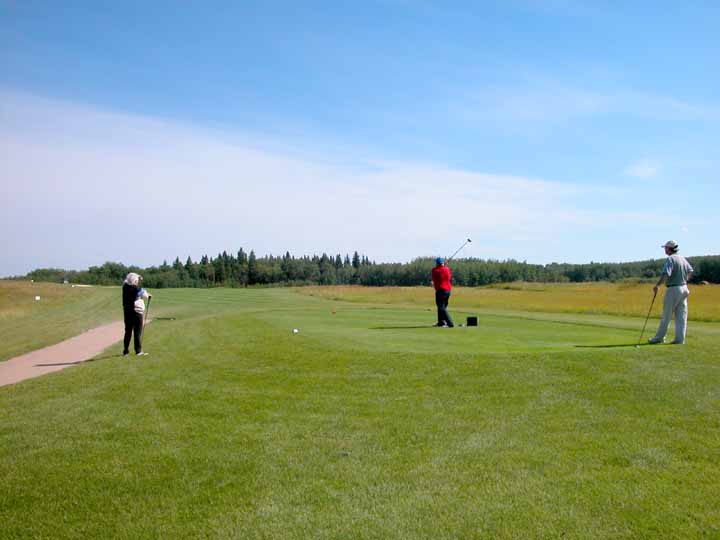
Pro Tip:A fantastic finishing hole. Decision time! If you can hit a 255 yard bomb over the trees down the left side, you should be able to carry the trees and leave yourself a 75 yards approach to a large green. Anything less than perfect and you can tee up a second ball! The safe (and smarter) tee shot is straight down the middle, leaving a 150 yard approach. With a down hill fairway, the water can come up faster than expected. Stay below the hole on this green. There is way more break than you realize.